
How to Filter 3D Printer Air
Whether it’s more seemingly benign filaments like PLA or really toxic ones like ABS, all 3D printer fumes should be cleaned before entering your home (learn about how 3D printing affects the air quality here Are 3D Printer Fumes Dangerous?. To ensure this is the case, you should have a Heavy-Duty Recirculating Air Filtration system running at all times inside your enclosure. Below is a DIY filtration system that you can build for a very low cost.
Parts List
High-Pressure Blower (centrifugal) fan
Barrel jack
Rocker switch
18 AWG wires
110x110mm HEPA/activated carbon filter
Bolts and nuts
12V/1A adapter
You can find most of these items on Amazon. We provide all of the necessary parts in a kit to make it easy to build: <link to DIY filtration kit>
If you’d prefer to get a pre-built and ready to use 3D Printer Heavy-Duty Recirculating filter, we have one for you here:
Heavy-Duty Recirculating Air Filtration
The Fan
There are many different ways to filter a cabinet: blower[centrifugal] fans vs. axial fans (To learn about axial vs centrifugal fans check out “Axial vs Centrifugal Fans”<link>), single pass vs recirculating. We chose 97x94x33mm blower fan with high. static pressure and lower air flow with a decibel below 60db. The orientation we chose is recirculating so that we maximize the number of passes that air goes through the filters during a printing session.

97x94x33mm High-Pressure Blower Fan
The Filter
For filtration we chose a combo filter with a thick layer of activated carbon since activated carbon removes contaminants by way of “adsorption”. This is how it works: How does 3D printer Filtration work. Replacement filters are here: Filters

110x110mm Combination HEPA/Activated Carbon
Build a simple 3D printer enclosure Filtration system with these 2 parts
Install the barrel jack and rocker switch
Push the barrel jack to the back of the body and tighten on insdie with steel nut. Push rocker switch into the side of the body.

Wire the switch and power source together
Connect the small red spade connector from the barrel jack to the rocker switch then connect the long wire with a male JST connect to the other terminal of the rocker switch.

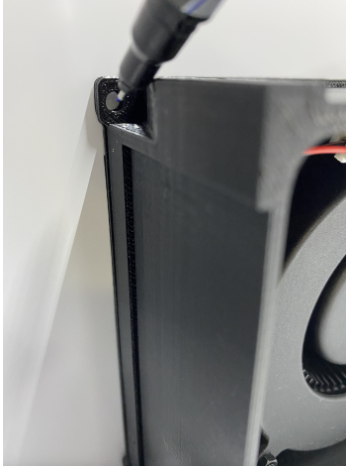
Install fan
Place the fan into the body with the open side facing toward you. Use (2) 40mm bolts to fix the fan in place (bolts from the outside in and nuts are on the inside. Connect fan to power source. Note, you will have to bend the rocker switch lines slightly to the right to make space for the fan. It’s best to push the rocker switch out first then push it back in after the fan is tightened.

Drill holes for fan
Mark and drill (4) 3mm (1/8”) holes to mount the unit inside your enclosure.
Mount filtration system
Bolt your system onto your enclosure, install the filter and switch on! Ahh… clean air :)
